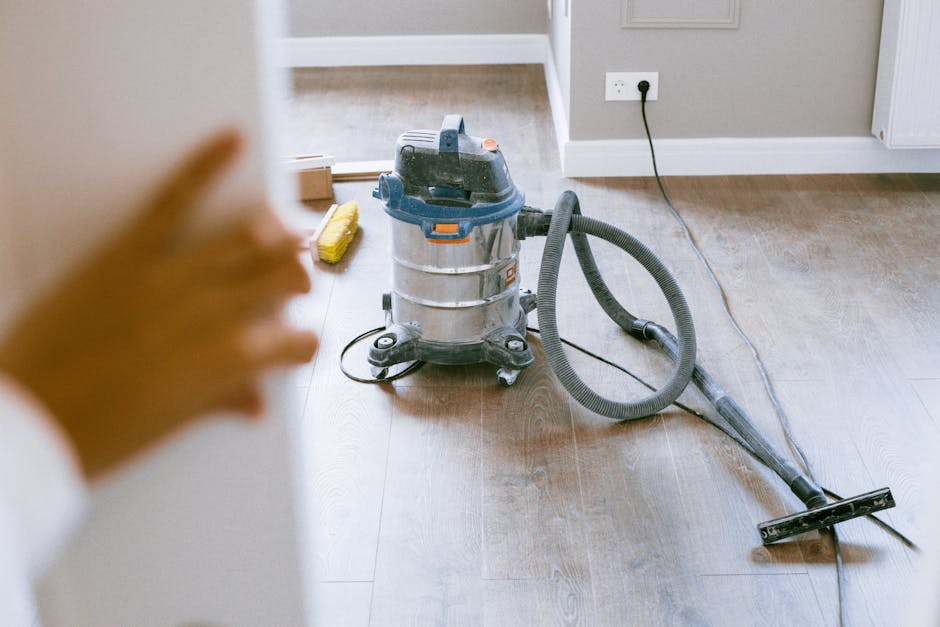
Post-Renovation Cleaning: What a Builder's Clean Leaves Behind
A builder's clean covers the obvious: swept floors, wiped benchtops, the removal of construction debris. It does not cover construction dust in every crevice, silicon residue on tiles, paint specks on tapware and glass, grout haze on tile surfaces, or adhesive residue on windows. A proper post-renovation clean is a different job requiring patience, the right products for each surface type, and time that a builder's clean budget does not include.
Green Wave Cleaning Team
Gold Coast & Brisbane
A builder's clean covers the obvious: swept floors, wiped benchtops, and the removal of construction debris. It is part of the builder's handover process and it meets the minimum standard required for that handover. It does not meet the standard required to actually move into and use the property.
What it leaves: construction dust in every crevice, silicon residue on tiles and glass, paint specks on tapware and hardware, grout haze across new tile surfaces, adhesive residue on windows and mirrors, and fine gypsum dust on every horizontal surface that was not directly swept. A property handed over after a builder's clean is presentable in photos. It is not ready to live in.
Contents
- What a builder's clean covers and what it does not
- Construction dust — why it goes everywhere
- Silicon residue on tiles and glass
- Paint specks on tapware, glass, and hardware
- Grout haze on new tile surfaces
- Adhesive residue on windows and glass
- The right approach by surface type
- How long a post-renovation clean takes
- The couple in Hamilton who finally felt like they were finished
- The cost of using the wrong cleaner after a renovation
- When we are not the right fit
- Frequently Asked Questions
What a builder's clean covers and what it does not
A builder's clean is typically scoped to the minimum required for handover. Builders include it in the project cost but the labour and time allocated to it reflects its place in the project budget, not the condition that makes a home genuinely ready to occupy.
What a builder's clean typically covers: Sweeping and mopping all floors. Wiping down benchtops and major surfaces. Removal of construction rubbish and packaging materials. Basic wipe of windows on the interior. Toilet connected and cleaned. Kitchen appliances wiped externally.
What it does not cover: Fine construction dust in ceilings cornices, door frame corners, skirting board grooves, and the tops of window frames. Silicon residue on tile joints and glass surfaces. Paint overspray or drip marks on tapware, window glass, door hinges, and light fittings. Grout haze on new tile installations. Adhesive residue on glass from protective film. The inside of new kitchen and bathroom cupboards. Sanding dust in ceiling cavities and on every horizontal surface above bench height.
The standard a builder's clean meets is fine for the handover photograph. It is not fine for moving furniture in and expecting the home to feel finished.
Construction dust — why it goes everywhere
Construction dust from renovation work, particularly from sanding, cutting tiles, mixing grout, and working with drywall, is exceptionally fine. Fine enough to remain airborne for hours after the activity that produced it and to travel through HVAC systems, under door gaps, and into rooms that were not part of the renovation.
Gypsum dust from drywall work is the most pervasive. It is white, fine, and deposits on every horizontal surface it touches. In a renovation where any drywall was cut or sanded, the gypsum dust will be present on top of kitchen cupboards, in ceiling cornices, on the top of doors, on window sills, and inside light fixtures throughout the property.
Tile cutting dust is fine silica-containing material that settles into grout lines, in window tracks, and on any unprotected surface in the cutting area or adjacent spaces.
Sanding dust from timber floors or wall preparation is dense and heavy enough to settle quickly, but it distributes during and immediately after the sanding work into every accessible surface area.
A proper post-renovation clean addresses each dust type on each surface. It is methodical: high surfaces first (ceiling cornices, tops of doors and cupboards), then walls and mid-height surfaces, then floors. A single pass is rarely sufficient for a property where significant construction work was done. The dust resettles during the clean and a second pass after the initial work is typical.
Silicon residue on tiles and glass
Silicon sealant is applied around bath edges, shower bases, window frames, splashbacks, and any joint where two different surfaces meet. During application, small amounts of silicon inevitably contact adjacent tiles, glass, and surfaces. Applied wet, it is easy to wipe. Cured silicon, even thin smears or fingerprints of it, requires a specific approach to remove without damaging the underlying surface.
Cured silicon on ceramic tiles responds to careful scraping with a plastic razor blade followed by a silicone remover solvent. The plastic blade is essential: metal blades on ceramic or porcelain risk scratching. The solvent should be applied to a small area, allowed to soften the residue, and then scraped away. This takes time and care.
Silicon residue on glass, including shower screen glass and window glass, is removed using the same plastic blade approach with additional care for the glass surface. Any scraping on glass must be done at a very low angle to avoid scratching.
This is time-consuming work that a builder's clean does not allocate time for. A post-renovation specialist clean does.
Paint specks on tapware, glass, and hardware
Paint specks from brush and roller work land on tapware, door hinges, light switch plates, window glass, and door hardware despite best efforts at protection. Small specks on chrome tapware and polished hardware are particularly visible on the finished product.
Fresh paint specks are removed with a damp cloth. Dried paint specks require a different approach depending on the surface:
On chrome and metal hardware: A plastic razor blade or edge used carefully to shave the dried paint from the metal surface. Care is needed to avoid scratching polished finishes.
On glass: Same plastic razor blade approach, with the blade at a very low angle to the glass and the surface kept wet to reduce the risk of scratching.
On powder-coated or anodised surfaces: A dampened cloth with warm water, working carefully so as not to abrade the coating. Solvents are generally not appropriate on powder-coated surfaces.
On silicone seals and rubber fittings: Paint specks on these surfaces are typically removed carefully with fingernail pressure or a very soft tool. Solvents that soften the paint may also soften the rubber.
The detail work on tapware and hardware is one of the most time-consuming parts of a post-renovation clean and is almost always absent from a builder's clean.
Grout haze on new tile installations
Grout haze is the chalky film left on tile surfaces after grouting. Grout is applied across the full tile surface and then wiped off, but the residue that remains on the tile face during curing produces a visible haze that dulls the appearance of new tiles significantly.
Grout haze is removed with a diluted acidic solution, typically citric acid or a commercial grout haze remover, applied to the tile surface, allowed to sit for several minutes, and then scrubbed and rinsed. The process is straightforward but requires identifying the tile type first: natural stone tiles, including travertine, marble, and limestone, react badly to acid treatment and require a neutral pH cleaner instead.
A post-renovation clean identifies the tile type before any acid-based product is applied. Using the wrong product on natural stone tile as part of a rushed post-renovation clean is one of the more expensive cleaning mistakes possible. The correction often requires a stone restoration specialist.
Adhesive residue on windows and glass
Protective film is applied to new glass, mirrors, and sometimes tapware and hardware during construction to prevent damage. Removing the film leaves adhesive residue in varying amounts depending on the film type and how long it has been on the surface.
Fresh adhesive residue wipes with a cloth dampened with warm water or a small amount of eco dish soap. Adhesive that has dried and hardened on the glass, or that has been on the surface for weeks in Queensland heat, requires a citrus-based adhesive remover or isopropyl alcohol applied with a cloth and worked off methodically.
The risk on window glass is the same as for silicon removal: any scraping must use a plastic blade at a low angle on a wet surface to avoid scratching.
The right approach by surface type
A post-renovation clean requires identifying what is on each surface and choosing the approach that removes it without damaging the surface material.
Natural stone (marble, travertine, limestone, granite): Neutral pH cleaners only. No acid, no vinegar, no citrus-based products. Natural stone reacts with acid and the resulting etching is permanent.
Porcelain and ceramic tiles: Tolerant of most cleaning approaches. Acidic cleaners for grout haze and mineral deposits. Alkaline degreasers for construction oils and residues.
Chrome and polished metal: Soft cloths only. No abrasive products. Plastic blade for dried residue. Citric acid or vinegar solution for mineral scale.
Glass: Plastic blade at low angle, never dry. Citrus remover for adhesive, diluted vinegar for water spots and mineral scale.
New timber floors: Dry or slightly damp clean only. No wet mopping on unsealed or newly sealed timber. Remove fine gypsum and construction dust with a dry microfibre mop first.
Powder-coated surfaces: Damp cloth with warm water. No solvents.
Getting this right requires knowing each surface and taking the time to assess the property before starting rather than applying the same product everywhere.
How long a post-renovation clean takes
Post-renovation clean times vary significantly based on the scope of the renovation, the size of the property, and the condition left by the builder's clean. Some general benchmarks:
Partial renovation (kitchen or bathrooms only): Four to six hours with a two-person team, more for kitchens or bathrooms with extensive new tile work.
Full house renovation, single storey: One to two full days with a two-person team.
Full house renovation, multi-storey or large property: Two to three days.
These times reflect the methodical approach required: high to low, room by room, with a second pass after initial dust settles. A post-renovation clean cannot be rushed. The detail work on silicon, grout haze, paint specks, and adhesive residue is time-dependent. Cutting the time cuts the result.
The couple in Hamilton who finally felt like they were finished
A couple in Hamilton had just finished a six-month renovation. The builder had done a builders clean but it was surface level. There was construction dust in every crevice. Silicon residue on the tiles. Paint specks on the tapware.
We spent a full day on the property with a specialist post-renovation clean. The kind of clean that requires patience and the right products for each surface. They walked through at the end and the wife said it finally feels finished. They moved in that weekend and have been monthly clients since.
That comment comes up in different versions after almost every post-renovation clean we do. The builder's clean makes the property look finished in a walk-through photo. The specialist clean is what makes it feel finished when you are standing in it. There is a noticeable difference between a property that has had both and one that has had only the first.
The cost of using the wrong cleaner after a renovation
The cheapest cleaner on the Gold Coast is usually the most expensive decision you make. A failed regular inspection costs you time, stress, and a re-clean fee that wipes out whatever you saved on the original quote.
In a post-renovation context, the wrong approach costs more than money. Using acid on natural stone tile to remove grout haze, applying abrasive products on new chrome tapware, or scraping dried silicon with a metal blade on new glass can create permanent damage that requires the builder to return and rectify. Tapware replacement, glass replacement, and stone restoration are expensive. A specialist clean that avoids those outcomes is not the premium option. It is the insurance.
The correct post-renovation clean uses the time to identify each surface type, select the appropriate product and technique, and work methodically. Cutting corners on this is a decision that shows in the finished property.
When we are not the right fit
If the renovation involved asbestos-containing materials or lead paint, specialist remediation contractors are required before any cleaning team enters the property. These are hazardous material compliance requirements, not cleaning tasks.
If the build quality itself has issues, such as poor silicon application that needs to be redone, tile lippage that was not addressed, or grout that was applied incorrectly, a cleaner can improve the appearance but cannot correct the underlying work. The builder is the right point of contact for these.
If the renovation is ongoing and the property is still a construction site, a post-renovation clean is appropriate at the completion stage, not during the work.
For post-renovation cleaning on the Gold Coast and Brisbane, including specialist surface assessment and the right approach for each material, get a quote at greenwavecleaning.com.au/get-a-quote.
Frequently Asked Questions
What does a post-renovation clean include that a builder's clean does not?
A post-renovation clean covers construction dust in all crevices and high surfaces, silicon residue on tiles and glass, paint specks on tapware and hardware, grout haze on new tile surfaces, adhesive residue from protective film, and the interior of new cupboards and storage. It uses surface-specific products and techniques for each material type, taking the time that a builder's clean budget does not include.
How long does a post-renovation clean take?
A partial renovation of a kitchen or bathroom takes four to six hours with a two-person team. A full single-storey house renovation takes one to two full days. Larger or multi-storey properties take longer. Post-renovation cleans cannot be meaningfully rushed: the detail work on silicon, grout haze, paint specks, and adhesive residue requires time and a second pass as initial dust resettles.
Can I do a post-renovation clean myself?
For small renovations involving a single room, a DIY approach is feasible if you know the surface types and appropriate products. The most common mistakes are using acidic cleaners on natural stone tiles and using metal blades on glass. For a full house renovation with multiple new tile surfaces, tapware, and significant construction dust, a specialist clean is the more reliable approach and reduces the risk of damaging new finishes.
Why does a builder's clean not cover everything?
A builder's clean is scoped and priced as part of the construction contract at a budget that reflects its place in the overall project cost. It meets the minimum standard for handover, which is different from the standard required to move into the property. The detail work on cured silicon, grout haze, dried paint specks, and construction dust in crevices requires more time than the builder's clean allocates.
Is post-renovation cleaning included in the builder's contract?
The builder's clean is typically included. A specialist post-renovation clean to move-in standard is almost always an additional service not included in the builder's scope. Clarifying what the builder's clean specifically covers, and booking a specialist clean separately, is the standard approach for renovations in Brisbane and the Gold Coast.
Photo: Pexels — royalty free
Need professional eco cleaning?
Green Wave Cleaning serves Gold Coast and Brisbane with plant-based, eco-certified products on every job.
Get a personalised quote